1.前言
Hadoop是运行在Linux,虽然借助工具也可以运行在Windows上,但是建议还是运行在Linux系统上。本文章描述的是在linux上的安装过程.
参考链接:
Hadoop的官网地址
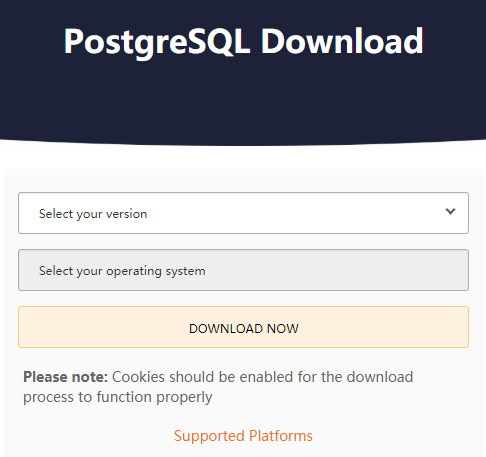
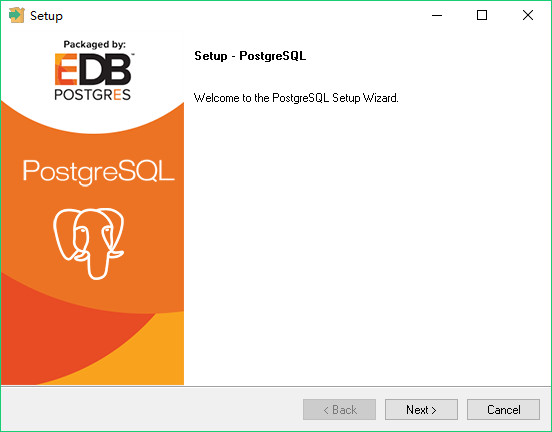
hadoop安装包下载地址
史上最详细的Hadoop环境搭建
2.环境准备
必须确保已经安装好java的JDK以及ssh。
Hadoop Java版本选择
安装好JDK后,必须设置JDK的环境变量。
ssh必须安装并且保证sshd一直运行,主要便用Hadoop脚本管理远端Hadoop守护进程。
3.Hadoop本地模式安装
4.Hadoop伪分布式模式安装
5.完全分布式安装
图片开始 图片结束
图片结束
s
Linux安装链接:Hadoop Java版本
内容折叠标题
折叠内容
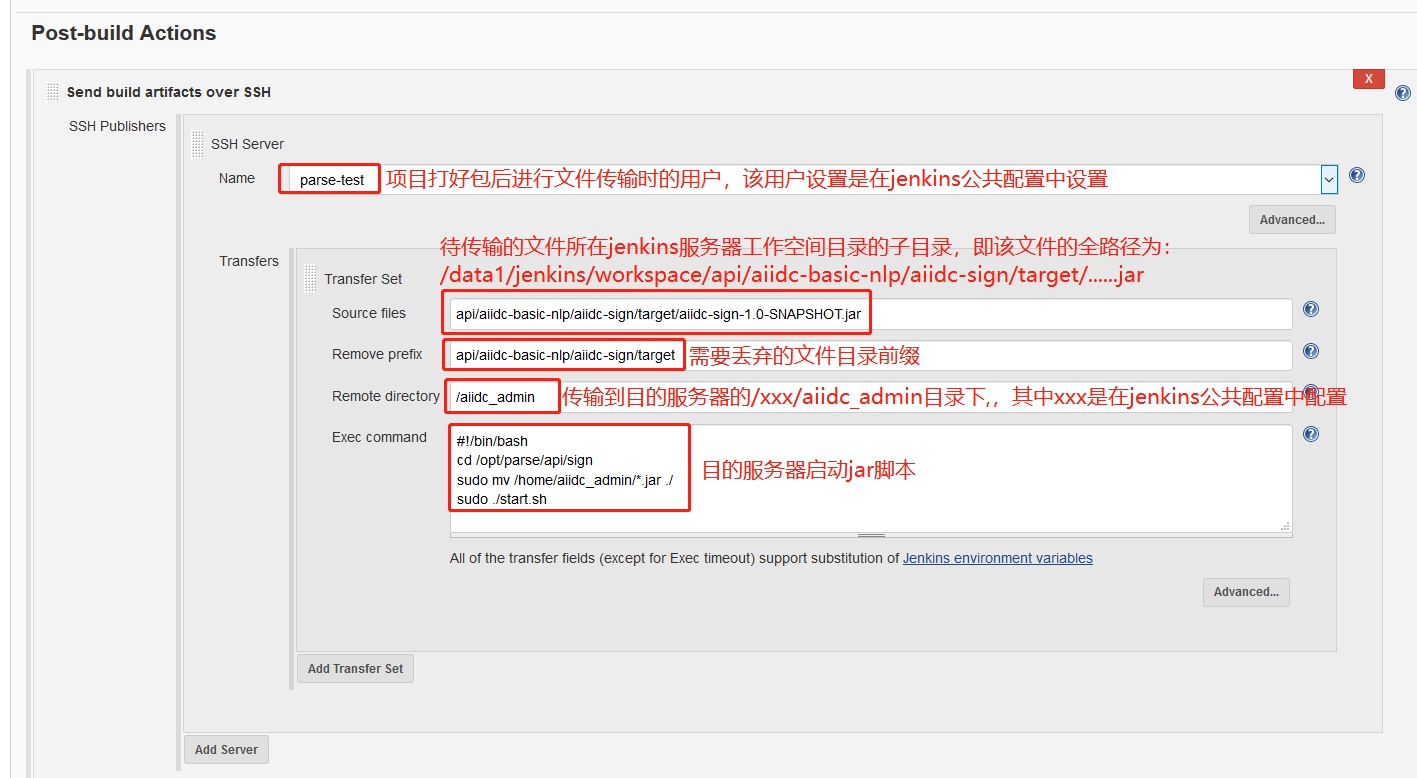
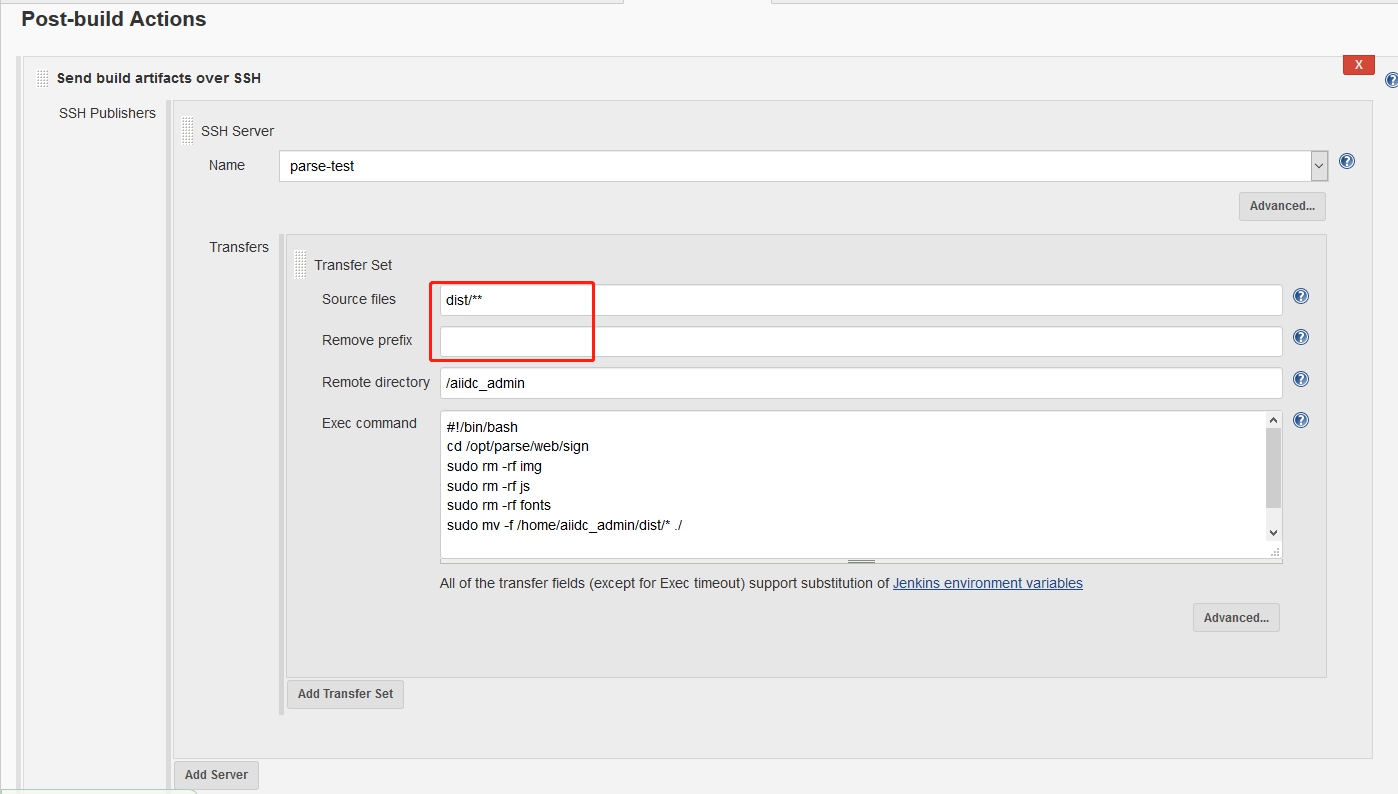
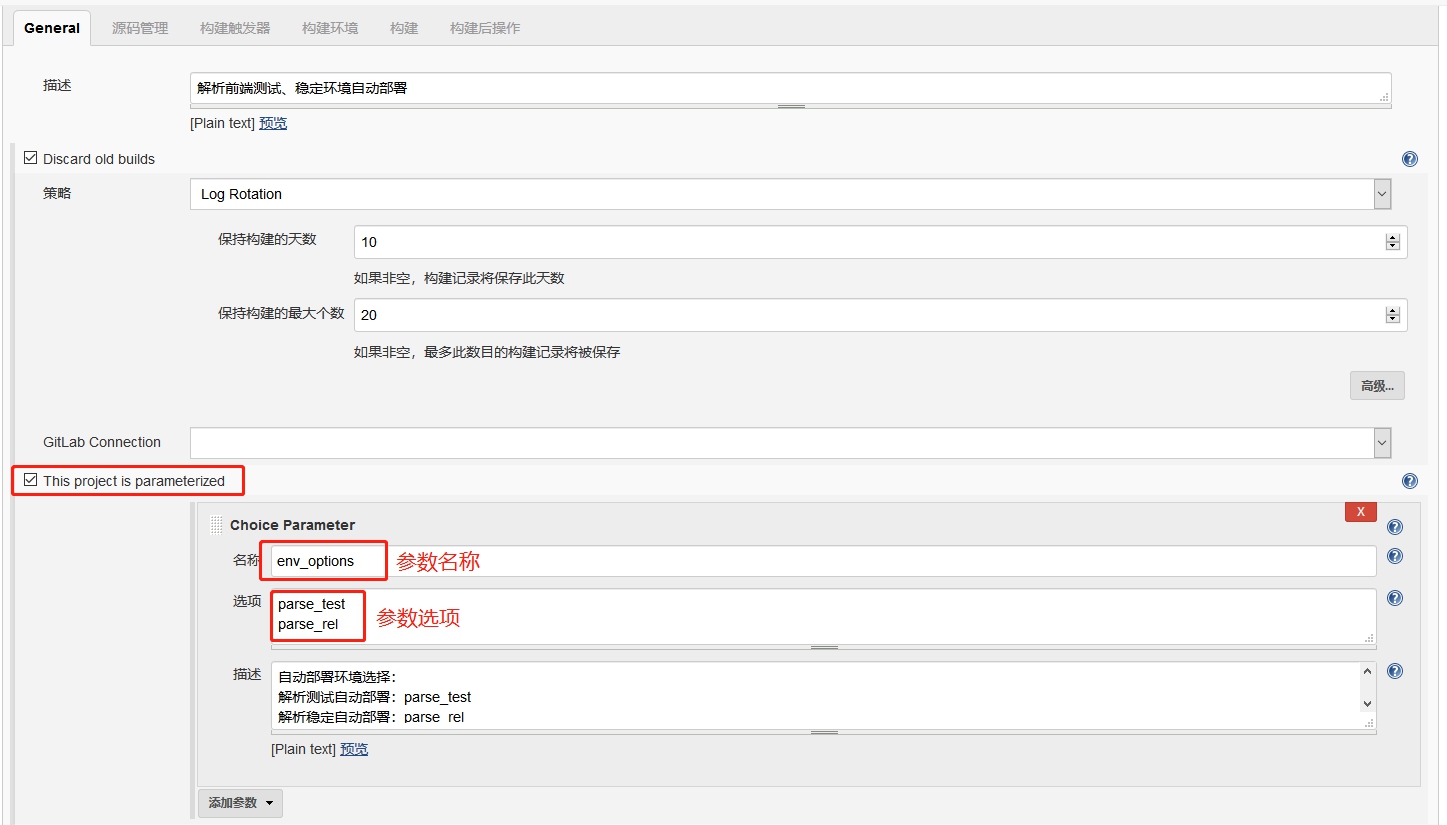
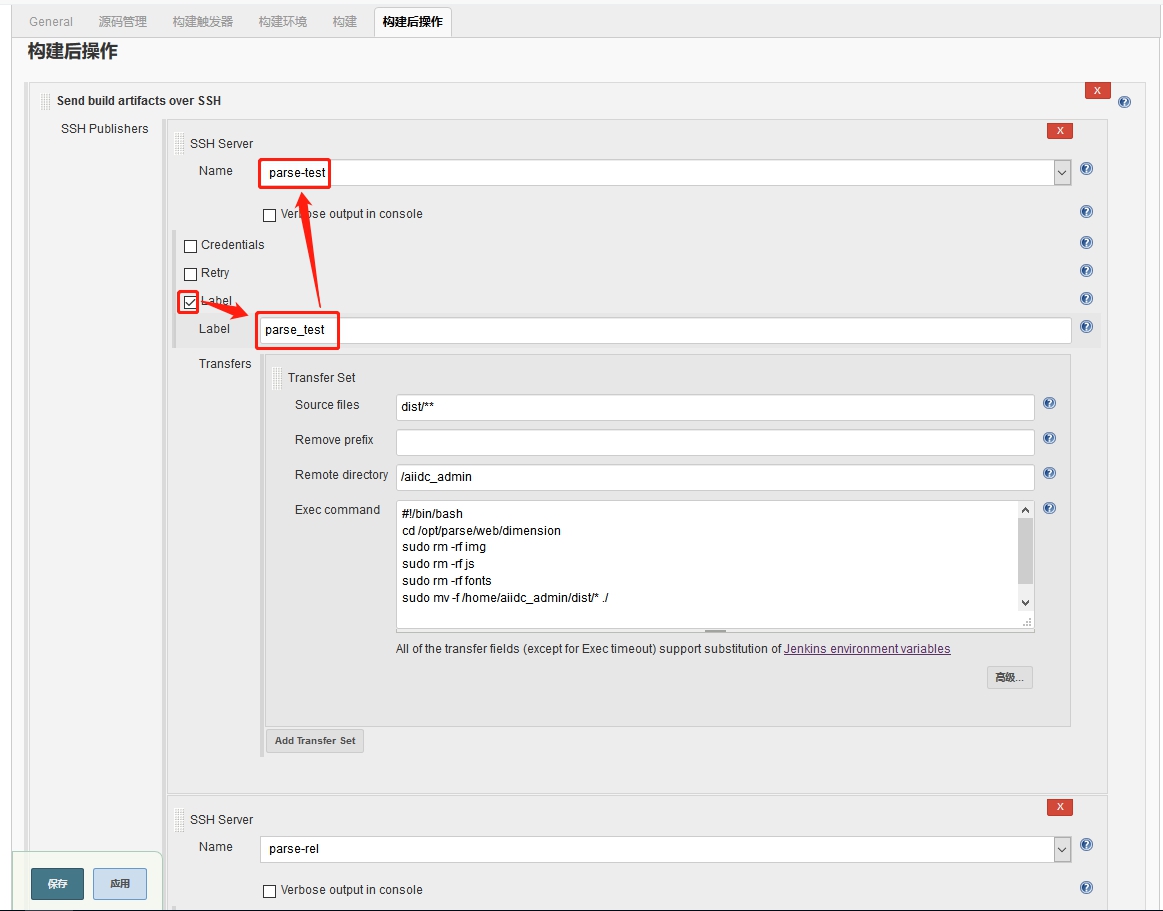
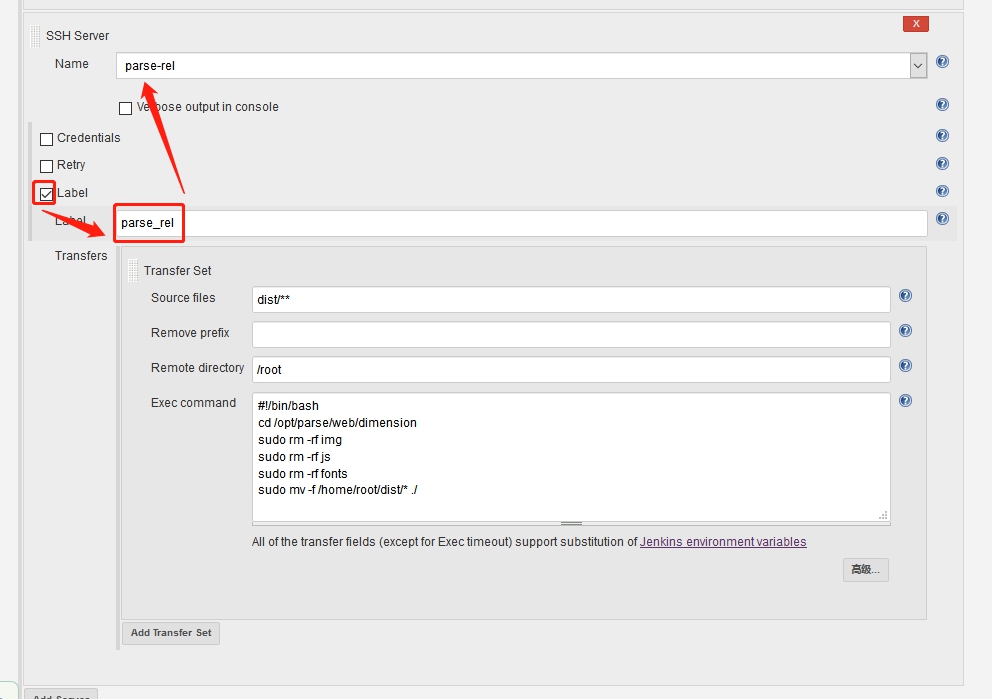
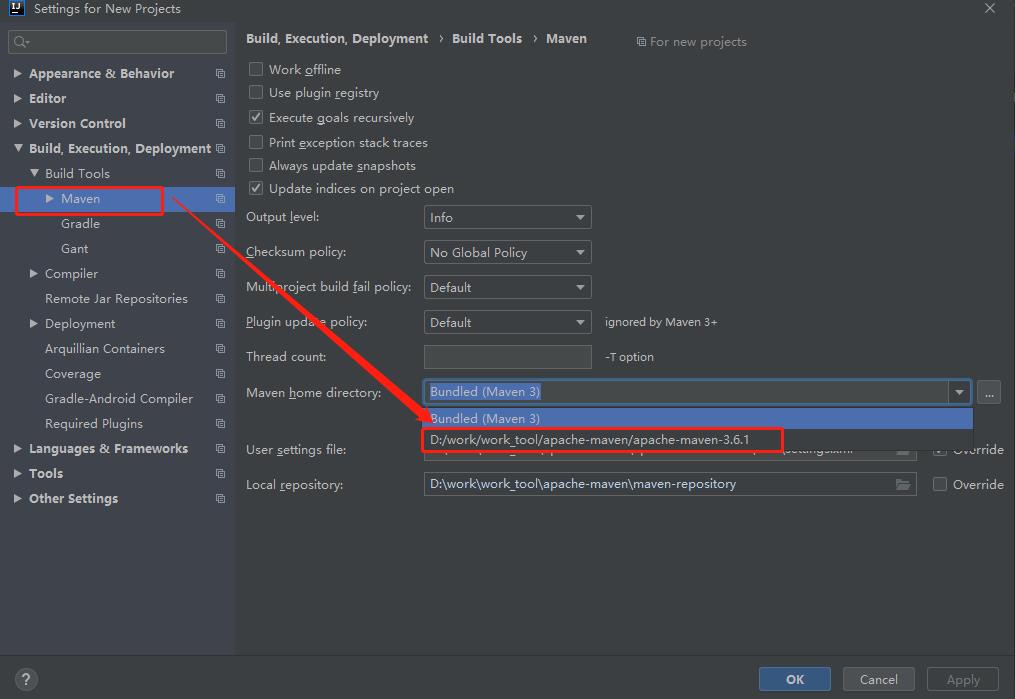
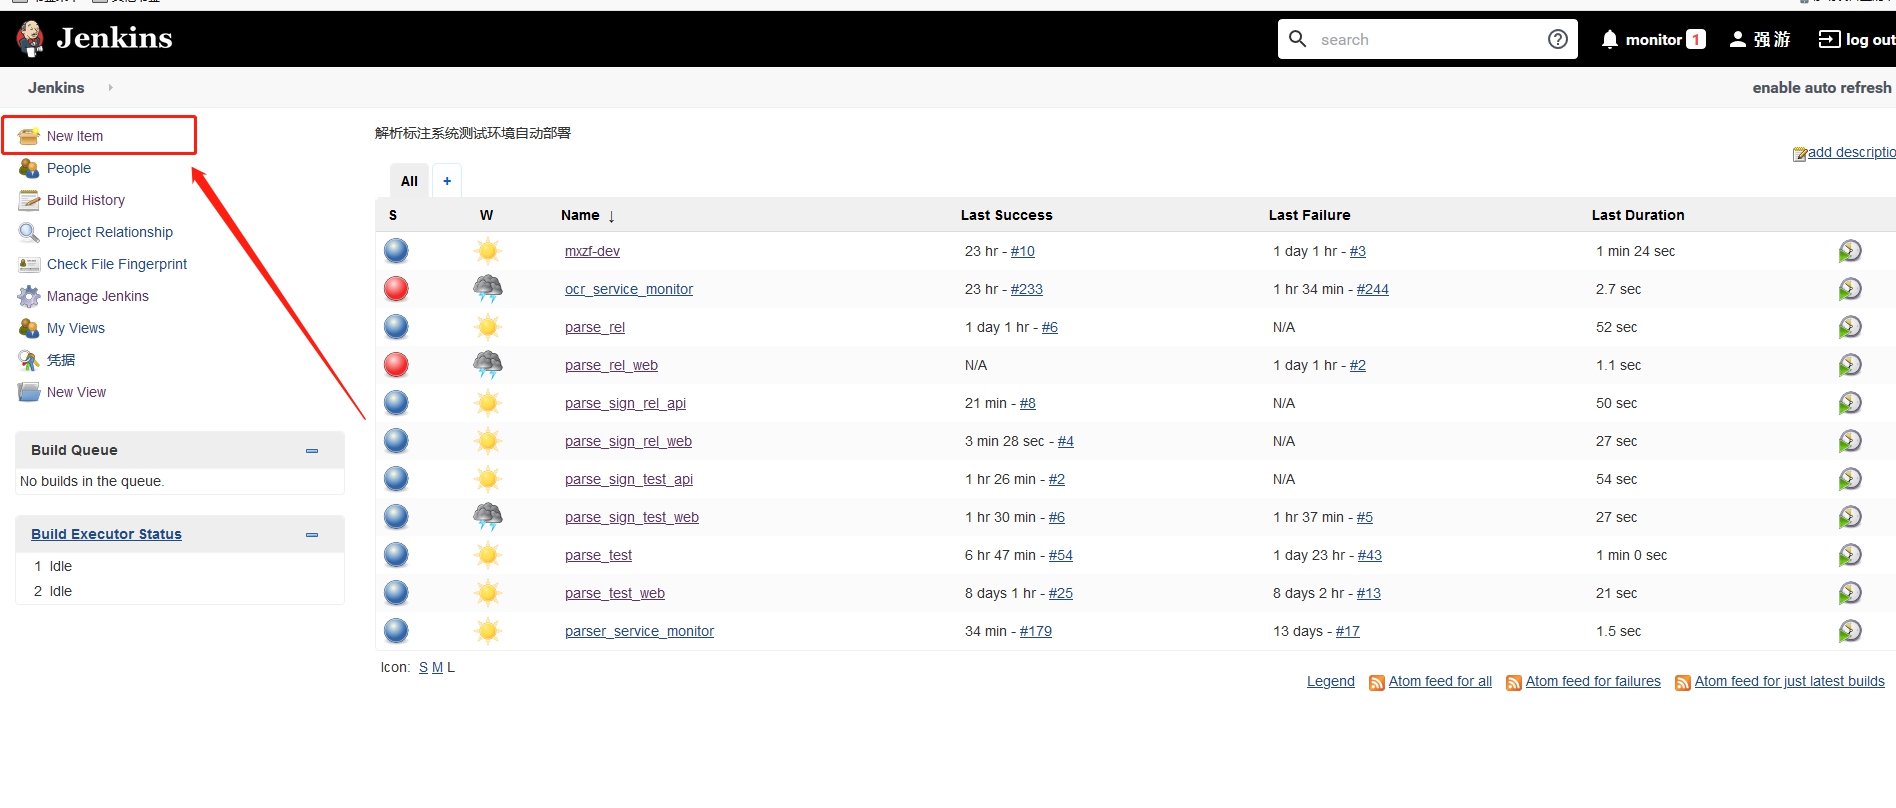 在创建项目工程时,比如
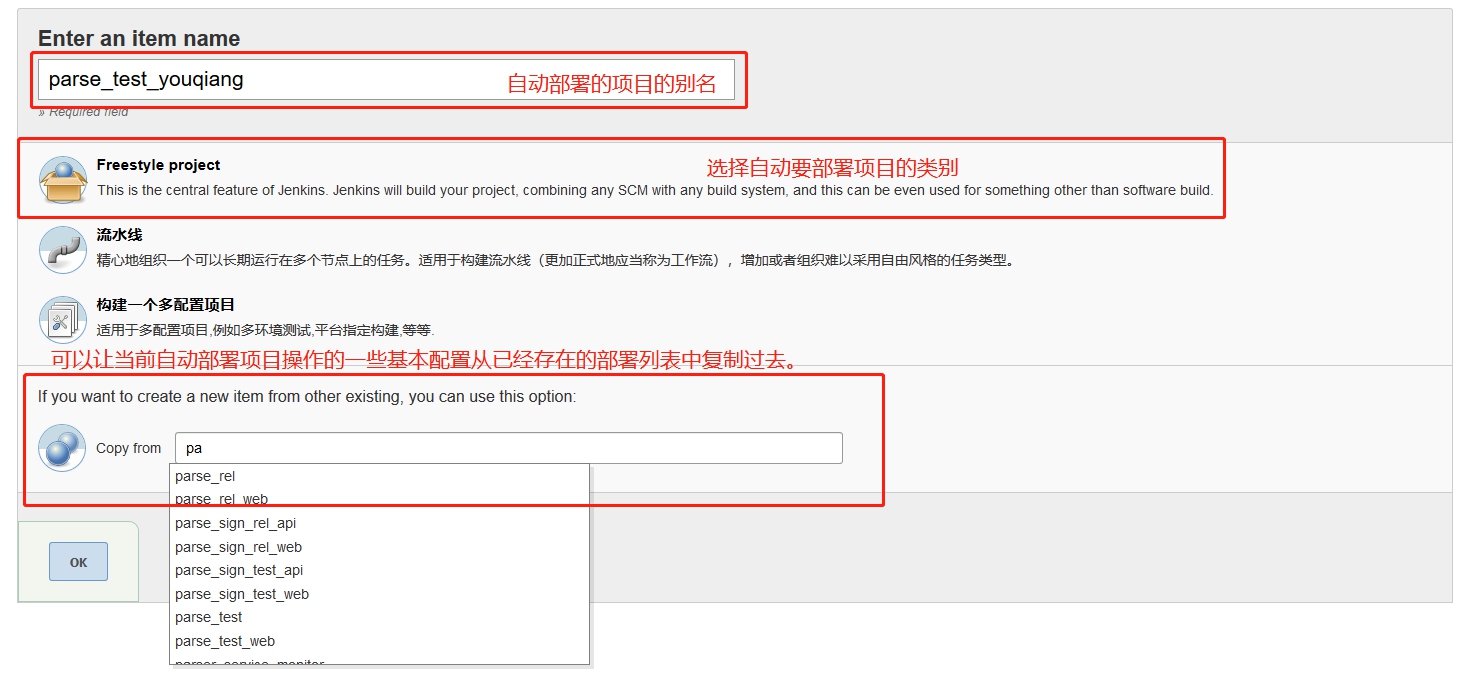 因为是从已有工程复制过去的,所以
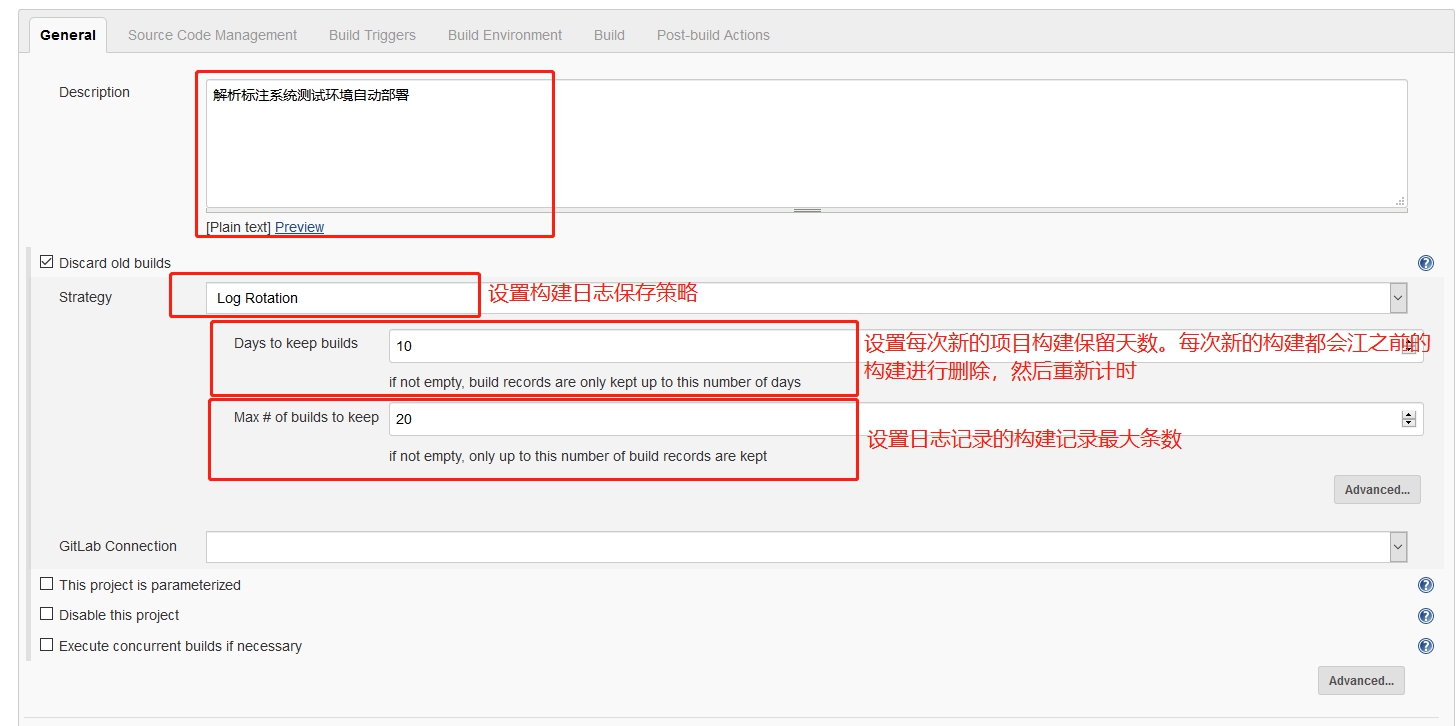
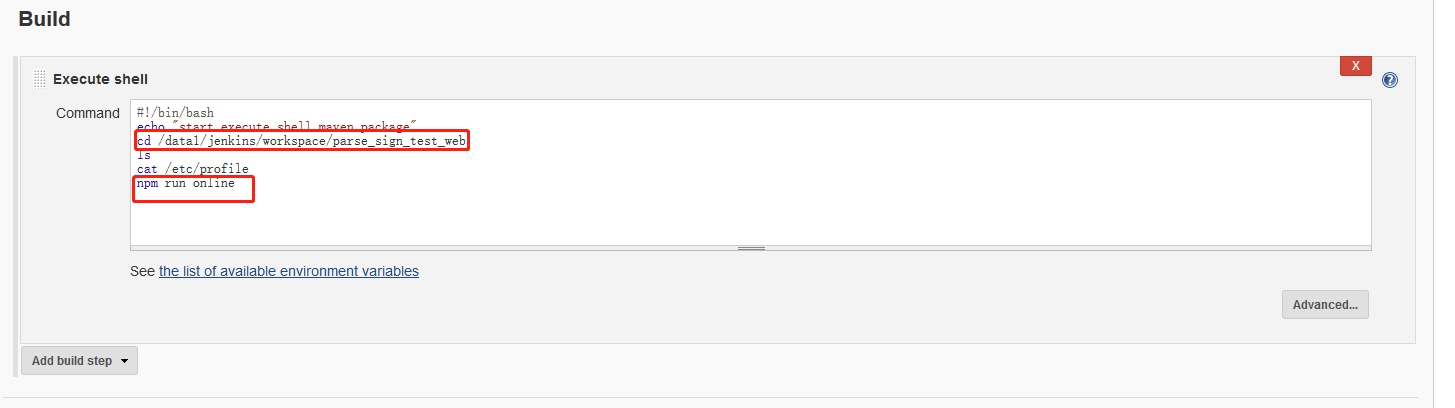
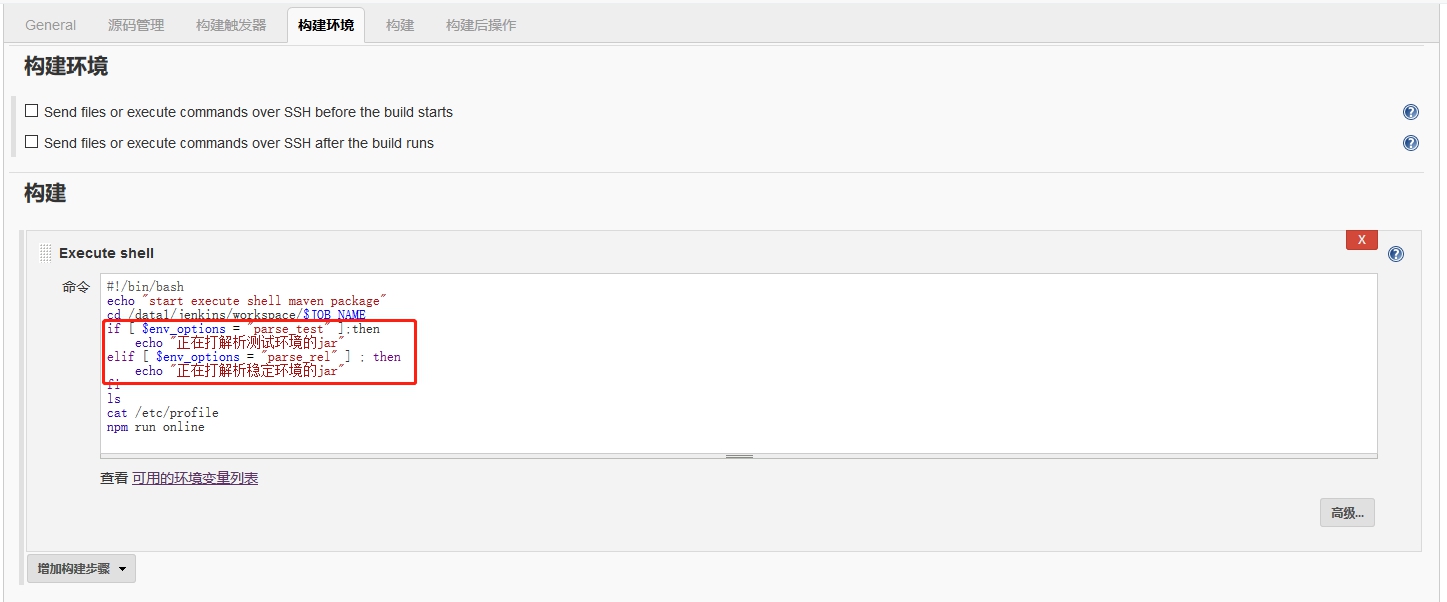
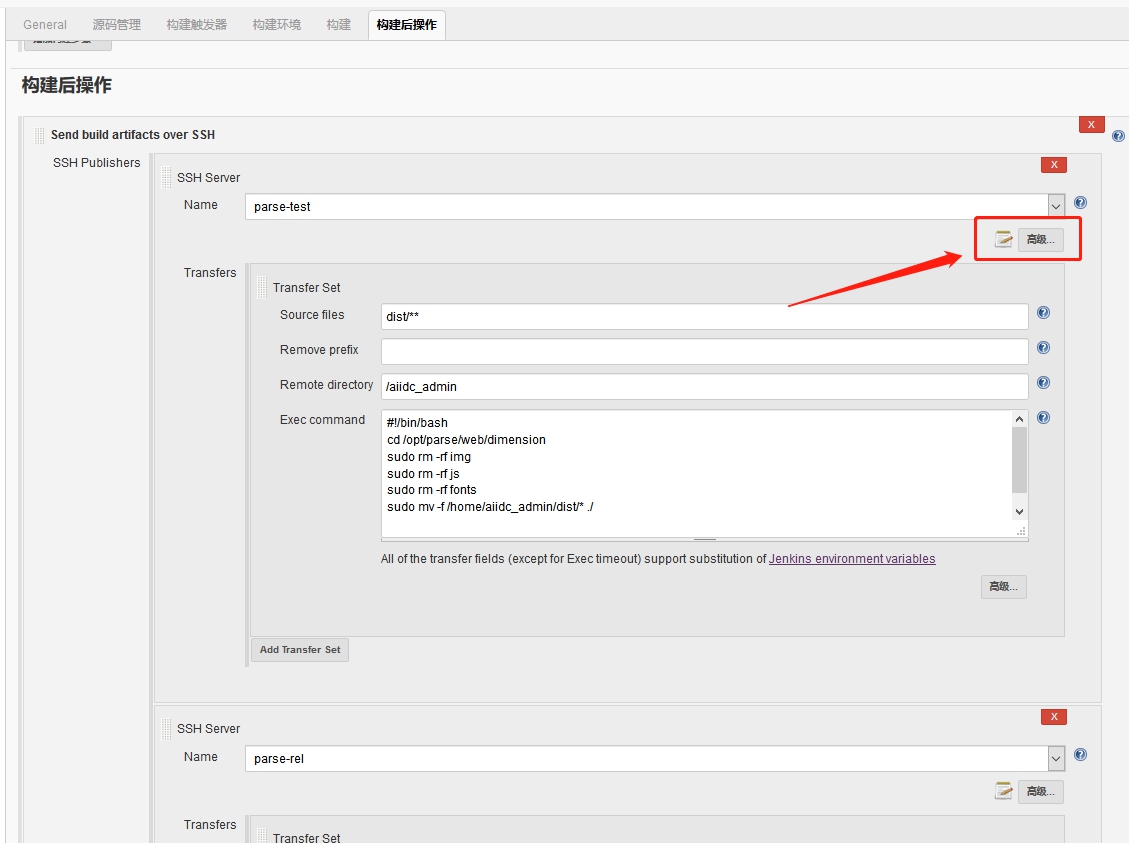
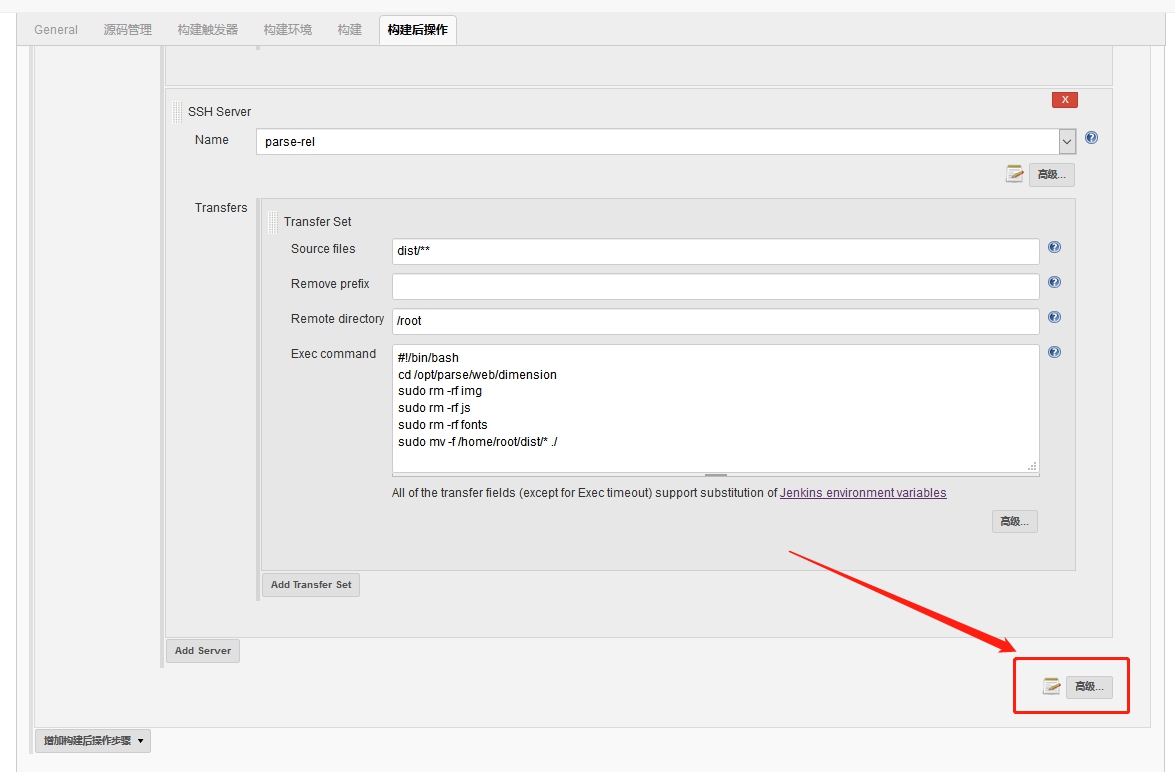
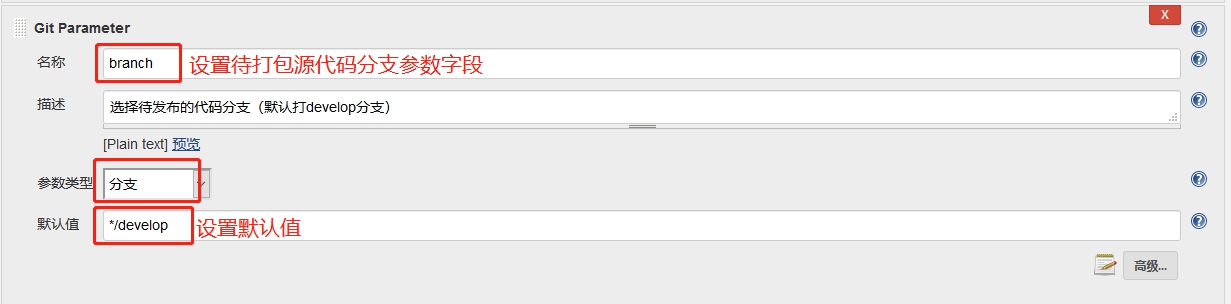
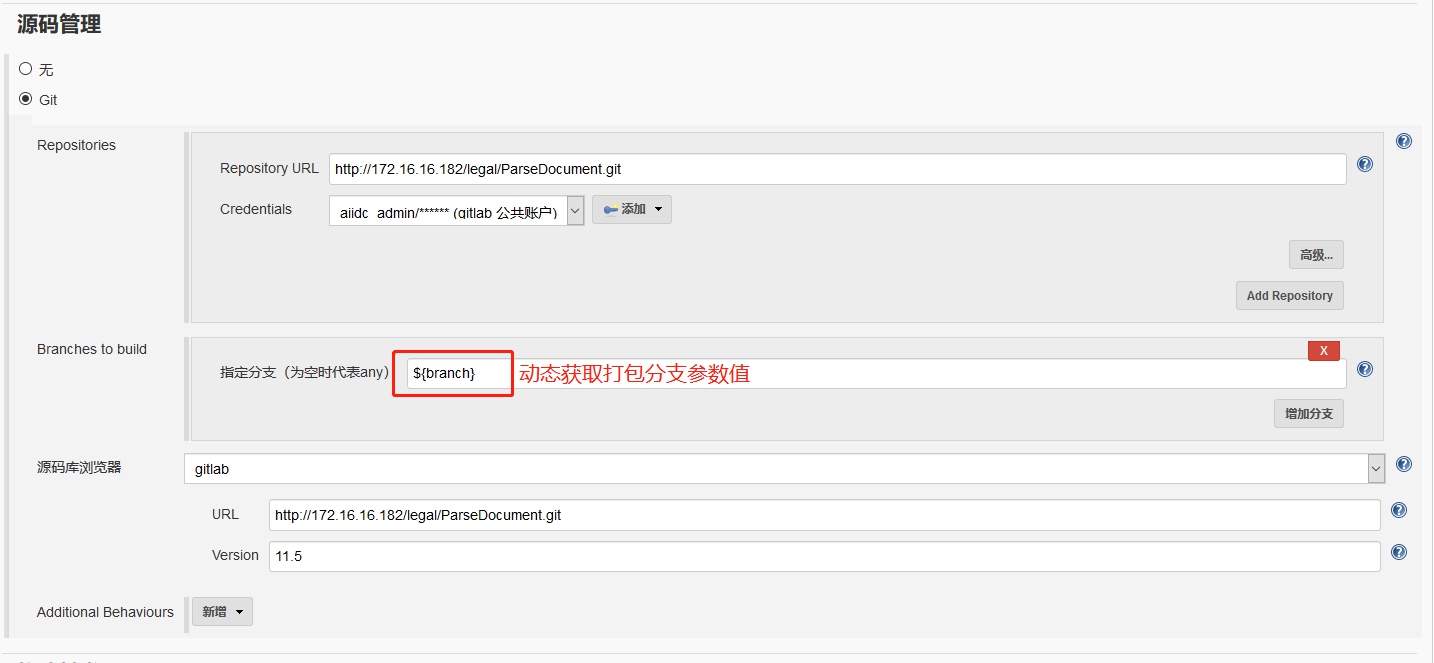
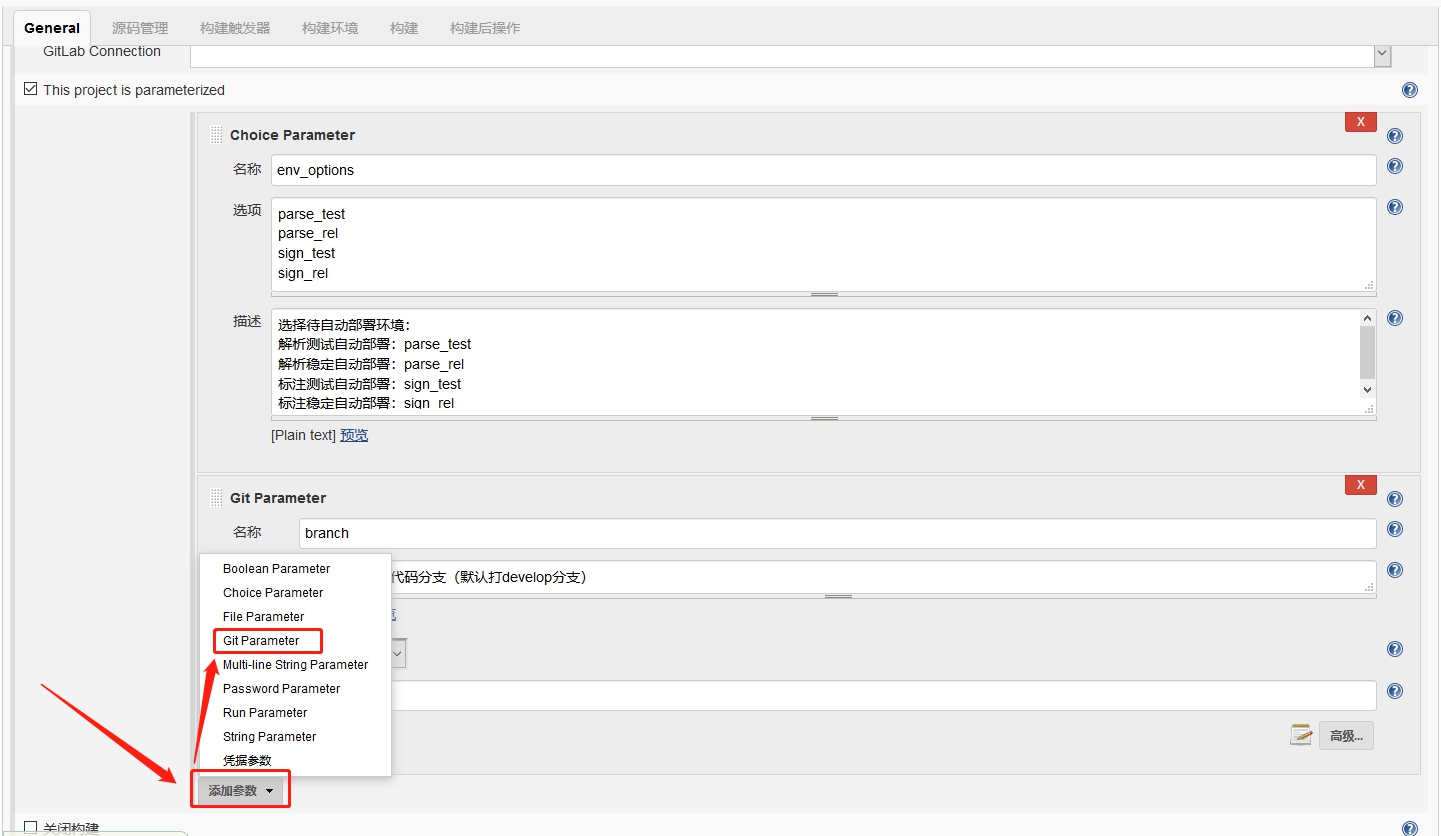
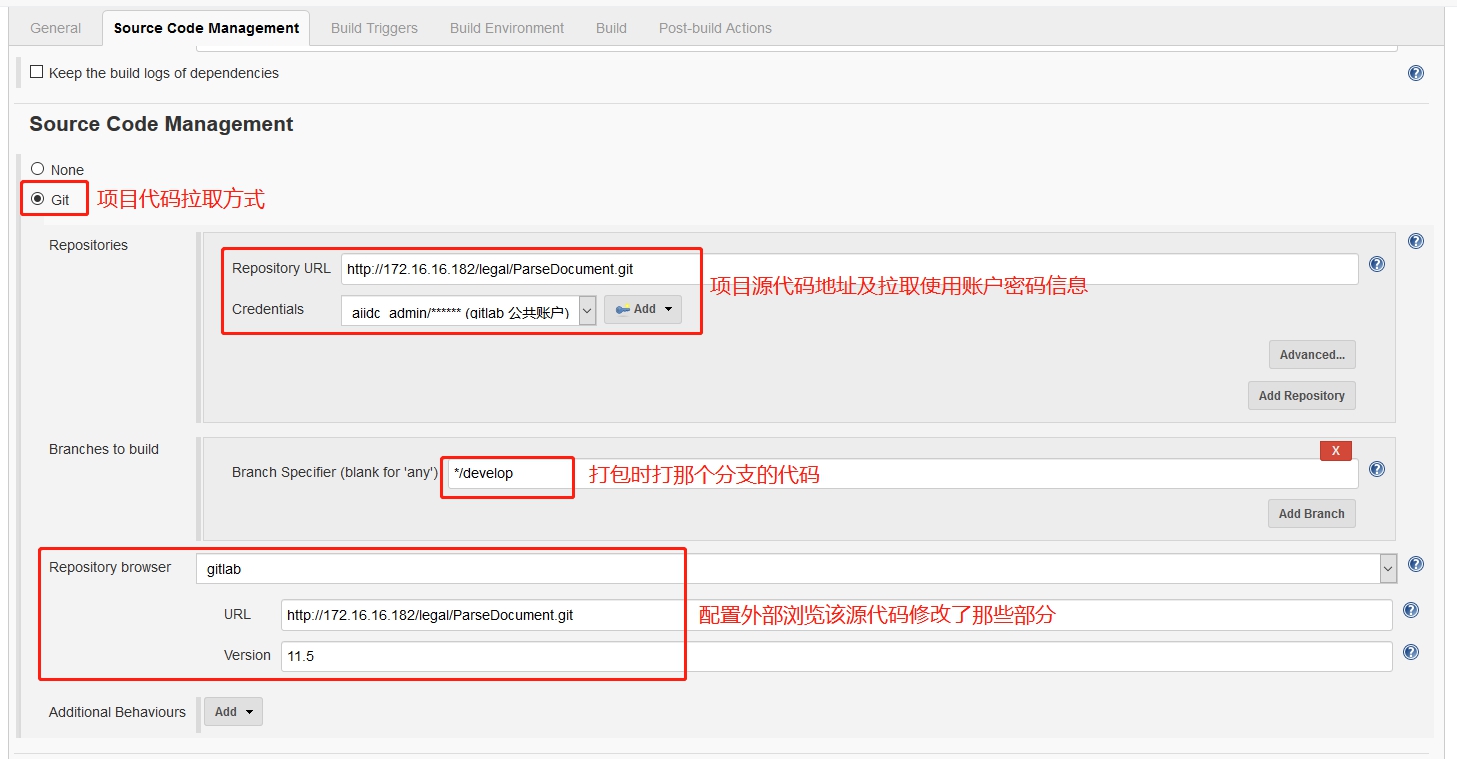 项目打包:
项目打包: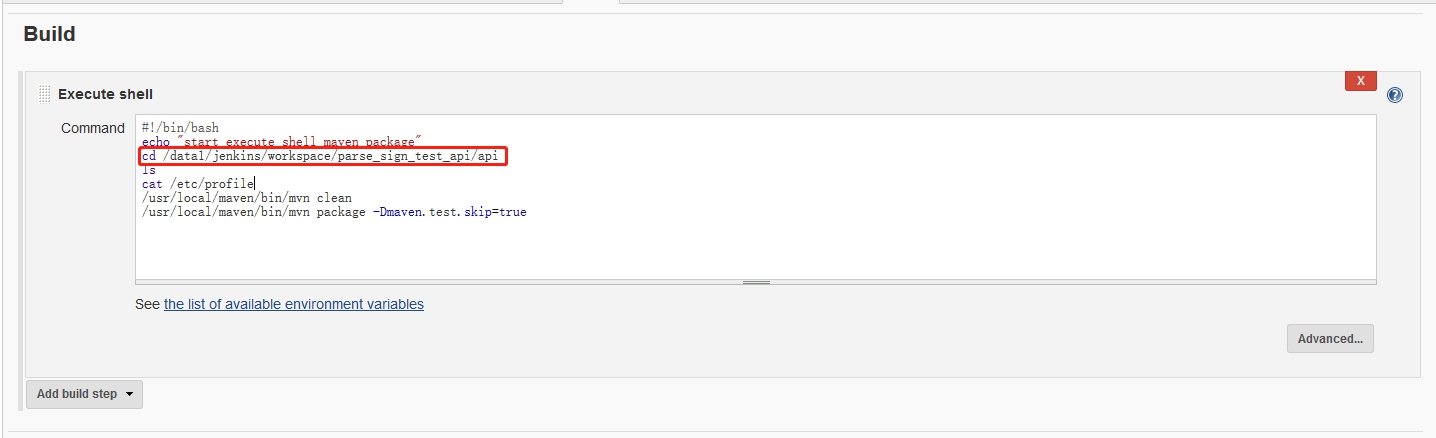 输入打包命令,JenKins会自动执行该命令。